Monday, January 9, 2012

Wood Floor Redo (and maybe some tiling, too!)

When we bought our house, the front room was carpeted in robins egg blue carpet. After we painted the same coloured walls, we ripped that crap out. It took a bit of work but not too much. We had to remove all of the little nails and staples, and clean it up really nice, but in the end the floor was in decent shape. Decent enough that we could live with its flaws, anyways :)

a reminder of what it was before
Greg decided it was time to do the floors when we had some out of town houseguests for a few weeks. I'm not sure why he thought that would be a good time to do it, but hey who am I to argue, he was the one paying for it all :)

Here are some before pictures:

where once there was a strip of carpet nailed to the floor, now stands a stain of brown

the floor finish from many years ago was very uneven/nonexistent in areas

the scones on the wall make no sense at all. what up with that crappy placement?

oh blue tile, how I have loathed you for three years...

First, Greg ripped out the blue tile from the front door. Under it was matching red tile from our den. under that was a second sub floor. Greg took it down to the main floorboards and put in a new sub floor. We hoped this would bring the tiles level with the hardwood (the tiles had been quite high up before, but it had been level with the carpet.)

Next, Greg took down the panelling. I told him that if he wrecked that panelling I would divorce him (I've used this threat before and each time I do it gets less threatening for some reason! ha ha). Luckily for him it came down easily. We were always a bit frightened as to what sort of Gerard-esque wiring was going on back there and now we know. It seems there was a fake fireplace there are one point (we'd suspected as much due to some wear on the floor in the shape of a mantle and hearth) that was panelled over. I think those sconces had been on each side of the "chimney" and when they took that part down they kept the sconces because they liked them and they matched the chandelier. Anyways, there was a wire who had a trench dug through the drywall, that came out at the bottom and got plugged into a wall socket. Check out this amazing wiring work:

look u can see the fireplace! Not sure what that top hole was ever for. the wire trench is a nice touch. the wire was stapled into place.
Because there were holes cut in the panelling for the sconces, we covered them up with a sweet painting we got at an estate sale. In fact I think it is this painting purchase that spurred Greg to want to do the floors. In any case, the panelling went back up, greg moved the sconces over, and made a proper wire box for them in the wall. Now there is a switch we flick to turn them on and I don't worry about fires as much.

apparently this is paris. if so it matches out panelling theme. can u see the switch box over by the wall?
Next up was the wood floor. We rented a floor sander from Home Depot. We just needed the one sander that I can't remember it's name, as there really was no finish on the floors at all to sand off.

greg was so happy to have his picture taken, as usual.

This took way less time than I thought it would. We put I think 6 coats of Varathane on the floors afterwards. We used the low sheen kind as the room is quite large and sunny and we didn't want to get blinded by a high sheen finish. Also high sheen shows wear more and we have two babies now. We also did not use a tint at all, we wanted the floors to show the natural wood colour as much as possible.

you can still see the brown stains a tiny bit but they are WAY less noticeable than before.

shiny happy floorboards

the room has a much more "finished" feel to it.
Next up was the tiling.
This was the first time Greg ever tiled anything and he gets an A- for his efforts! We bought tiles at Lowes, in a pinwheel white ceramic tile pattern. We thought we might use these in a bathroom but they are really wall times and so I'm not sure how much use they can really take. We don't really use this door ever so we're not worried about wear and tear. There are a few spots where you can see the squares of tile, so this is why Greg gets the A- not the A+ :) It also, happily, fits flush with the floor so there is no fear of stubbed toes any longer!!! Yeay!!

all done!

look at how level that is!!
The last thing to do was to replace our old door. It was a wood one with a brass and glass window. It wasn't a bad door, just totally not our style:
sold this sucker on Kijiji
Our neighbour had their original door on their house and greg and I always said we would ask them for it. One day we got back from some errands and they had a new door strapped to the roof of their car. We asked for the old one and of course they gave it to us! Joy! They have a big poodle and he'd done some pretty deep scratches on it but Greg sanded them down and we repainted the door. It doesn't fit the best ever so we have to do some weather stripping on it but it looks so much better than the old one! Plus we got a little friend for the front:)

welcome to my home

sweet original handle. greg polished it up.

knock knock. who's there? squirrel.
So that's about it for the front room floor redo! It took us 3 years of complaining to finally do it and now that it's done, we are very happy :) I love the new tiles best of all. The blue ones were the last remaining evidence of the nasty colour the front room used to be. PEACE OUT BLUE TILE!!

Oh I almost forgot, I wanted to share our giant awesome mirror we got at the Bentley Flea Market and the mirror greg made:

this is made from 6 mirror squares. it was behind the shelves in the bar that was in our basement, which we ripped out. this was too cool to throw out!

the heaviest mirror known to man, complete with seagulls.
THE END!!!

Tuesday, December 13, 2011

Where the hell I have been

So I just noticed that I havent posted anything since August.

Whoops!

I have been a bit busy. Else is now 20 months old, I've been working full time, AND I just had another baby!! We had a baby boy on December 1st and his name is Edward but we like to call him Eddie. Else loves him.


But all of this has kept me away from my blogging! Now I am back on Mat leave so expect some nice new posts cause we certainly have been working on stuff!

I would just like to mention that I have found a Mid Century Modern goldmine of info, right here on Blogger. Saul is a realtor but has a passion for MCM design. He has a floorplan for pretty much every style of MCM house built in Ottawa!! I am totally impressed with his blog and all the insights it has. However my hood is not included. Maybe it is too small, or maybe he just doesn't know about it. Anyways hopefully he will be able to help me out cause we are thinking about our future in this house.

When we found out we were having another baby, we started to think about how we would accomodate him or her into this house which is currently a 2 bedroom plus den. As you may know, the owners had switched the kitchen and master bedroom in the early 80's effectively ruining the layout for us in the future (I wish I could go back in time and make them change their minds!!!) I can appreciate that the kitchen as it is is like twice as big as it was, and that is a good thing, but we lost a bedroom!! And now we are thinking of putting it all back the way it was so that we can stay here. The kids can share a room for a while but there will come a time when that won't be possible any more. And when that time comes, will Else be old enough to have her own room on a different floor than everyone else? I am not sure sure about that.

The decision we need to make is if we are going to commit ourselves to this house for the long haul, or if we are going to sell and get a new place to start retro renovating. If we sell we are just going to redo the kitchen and keep it in the room it's in now. If we stay, we're going to do the switchover. We need to find the floor plans of our house to see how the kitchen was set up originally and if we can model around that using new materials and modern appliances (well, mostly modern, don't forget my turquoise wall oven and cook top!).

So, the big decision will have to wait..... stay tuned!!!

this is similar to our house but not quite the same. The window placements and the chimney are different and that actually makes a huge difference for our kitchen plans

Friday, August 26, 2011

Can you get more retro than a 1940's murder mystery game?

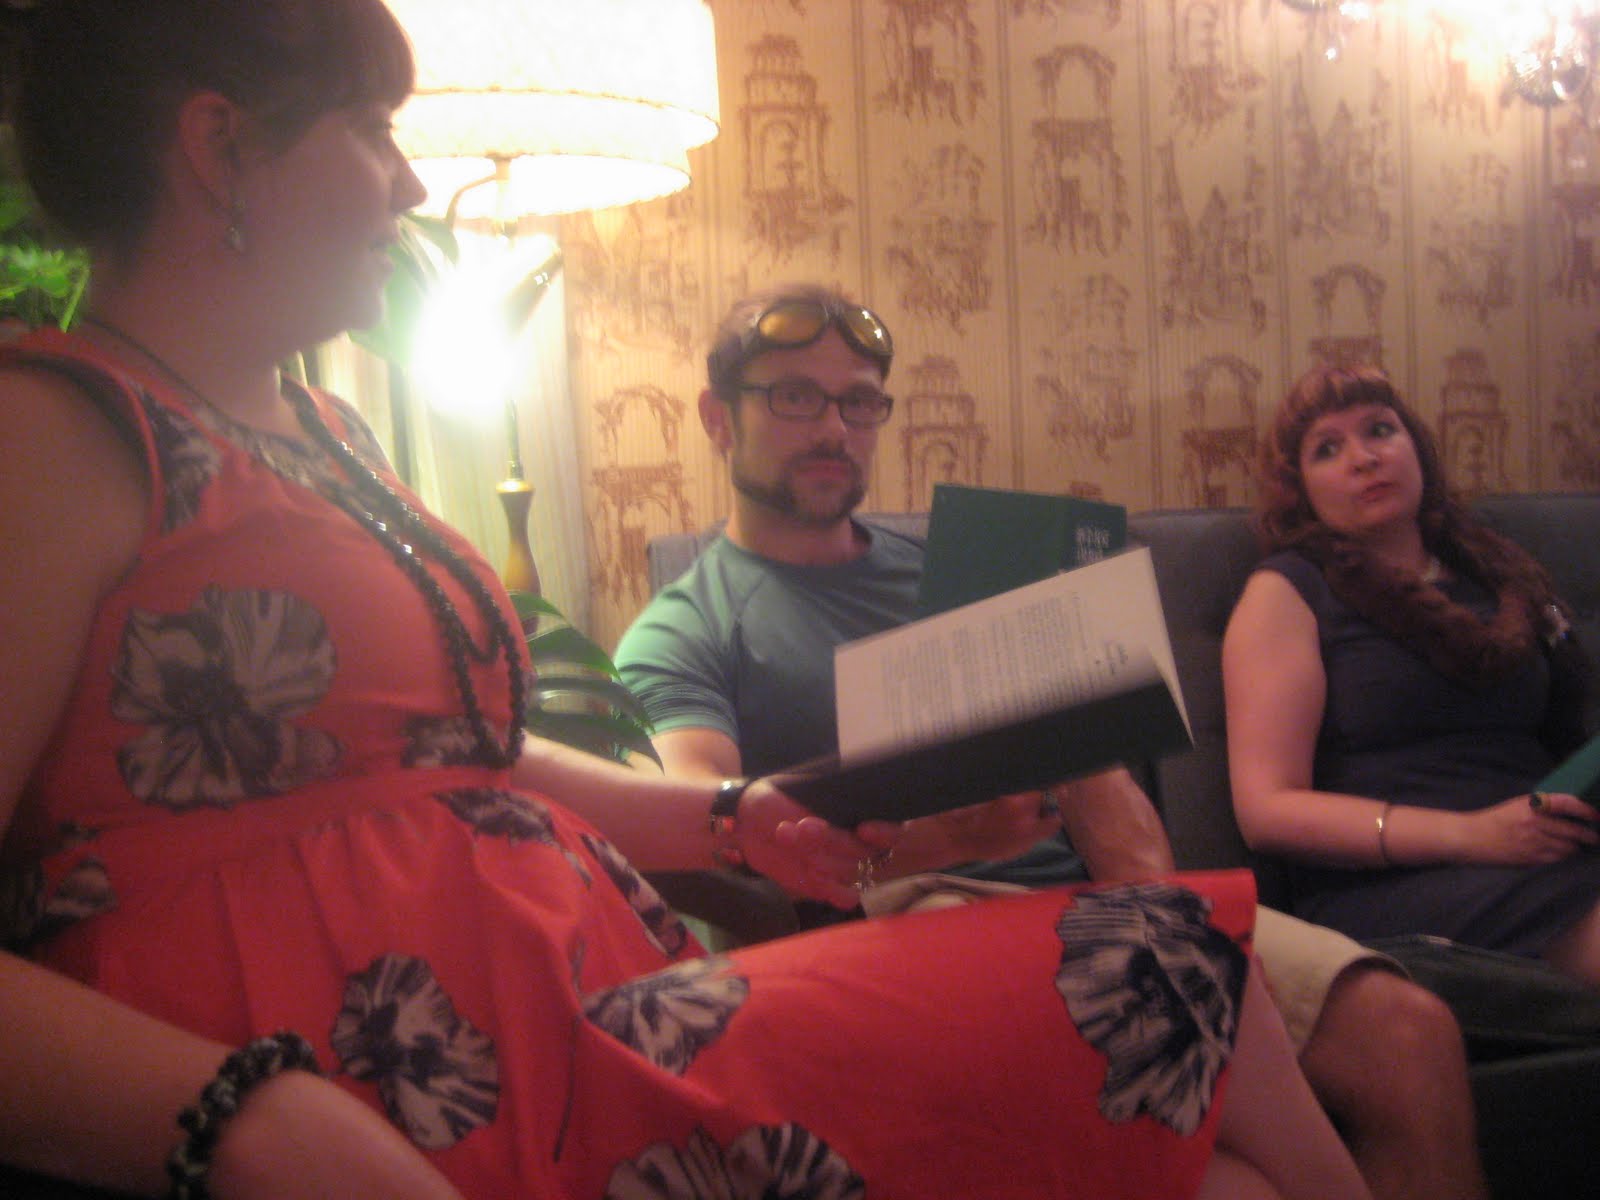
My friends Sarah and Oli live in England, and every so often make it to Ottawa for a visit. This time around I am pregnant so there was no wild pub nights in the cards for us. Instead we played 'The Last Train From Paris", a murder mystery set in 1940's Paris aboard a... you guessed it... train.
For dinner I made rouladen which was delicious, of course.

pile of meat. yum.

i was able to fit all the meat rolls into my giant Kitchenaid roasting pan.
There is a butcher down the street from me, who has been around since the hood was built in the 50's. They sliced up some inside round roast nice and thin so I didn't have to pound out the steaks like my mom used to do. Considering that I don't have a meat hammer, this was a nice luxury. Inside was bacon, onions and my dad's dill pickles (which are way better to use than store-bought) with some mustard and salt and pepper and garlic powder for good measure. They were a big hit with the crowd.

Speaking of the crowd, here are a few pictures from the night:

meeka the fashion designer

sarah the princess

chris as "the duke"
greg as the international man of mystery

oli as the terrible pilot who likes the ladies

tanis as the socialite
meeka has a sweet american accent

tanis does not belive that ren is not a spy

ren, you are a total spy

it was the princess. BUT SHE WASN'T REEEAALLY THE PRINCESS!!

All in all it was a pretty fun game. The company that makes these particular ones likes to throw in weird twists so it is pretty hard to figure out who did it.
Meeka I still have your weasels.

"Shit From My Garden Stew", with chicken

Yesterday I was the recipient of not one but two bags of tomatoes. Grammy brought some over, and then our neighbour Miguel did too.
What do you do with two bags of tomatoes?
YOU MAKE SOUP.

We grew carrots this year and most of them actually turned out quite nicely. We had harvested some earlier, but I think it was too early as they were pretty puny. The ones we are pulling now are big and tender and delicious! So I pulled some out the ground (a strangely sexual experience I would say) and took their pretty picture.


We also grew potatoes for the third year and most of them where also quite small. We had a lot of rain this spring and I really think it hindered early growth. In any case they still taste like good potatoes so I cut them up too. Here is a picture of the vegetables I used, minus celery (cause I forgot that I had some):

i did not grow the onion or zucchini. maybe next year.
So, I chopped up all these veggies and added a dried herb blend from Heritage Line Herbs. The smell of the tomatoes as they started to cook down was divine.


Then I cooked up some chicken with more dried herbs and some chopped garlic, and threw that in letting it simmer for about an hour. I really liked it, but Else wouldn't eat it. She kept saying "yucky, yucky" so she had PB&J instead.


Silly child.

Saturday, May 28, 2011

Gardening the Retro Way

Garden design changes a lot over time. In centuries past, a highly manicured hedged garden was de rigueur or else a totally wild garden like the kind you might picture at an English cottage. In the 50's, gardening took on a new shape of its own. Lawn care became super intensive, and lines and shading were very important.
Being the owner of a mid 50s home, I wanted to create a garden that is in line with my home's tradition. A year or two before we bought our place, the weeping tiles were replaced and new gardens at the front were put in. What was there before, I couldn't tell you. As it stands, our garden has a plain red paving stone foundation, not too far out from the house, and deep enough that it helps even out the slope of the yard without being too shallow.

west side of front garden
Last year, Pam at Retro Renovation was discussing mid century garden design (which you can read here) and it got me thinking about how I wanted to start building up my front beds. The only things that were in it initially were two hostas on each side, and some globe cedars that had seen better days (and were subsequently put to the curb to have a new day elsewhere). greg and I made a deal last summer that I had control of the front yard and he had the back so I have free reign up here! YES!! I should mention that this is the year Greg tried his Wild Yard Experiment, letting the grass grow until it seeded and finding neat plants inside it. It wasn't as horrible as I had pictured.. but man grass gets tall when you don't cut it for 3 months!

In any case, using the advice in this incredibly informative post I went to the fancy garden store and looked at the roses. I HAD A REALLY HARD TIME PICKING ONE. It is terrifically hard to pick a rose out when you are dealing with paper tags, whose pictures may or may not be accurate. What style rose did I want? One that had tonnes of smaller roses, or one that had fewer but bigger ones? What colour should I go with? It would have to go with the red brick, and will also dictate any future permanent flower colour choices. 
I went with "Americana" which is very similar to the "Tropicana" which was the essential rose of the 50's. It is a pinky coral, big bloomed, high climbing rose machine. In it's first year, it went from 3 spindly stems to about 20 and held roses so big that when it rained the roses ended up being pulled down to the ground.

my little rose's first bloom!!

very pretty and fragrant too.
This year Greg cut back the rose and it is already getting big and bushy. His dad made us a nice trellis out of cedar which we painted black (much to his chagrin) but it goes well with the front of the house. Now to see where it will grow this year!
the red means recent growth. this thing is going to get out of control very quickly.

Last year I also bought a nice Rhododendron from Home Depot. It was on sale as the flowers had bloomed already. I got a nice bushy white one and this year it has exceeded my expectations. It had 5 flower clusters I guess you'd say, each cluster has about 20 or so actual flowers on it. Anyways, it is real pretty, and seems to really like it's spot in the garden which is the north east side on my front steps. It doesn't get a whole lot of light, which is good, and the soil stays moist longer there, as rhododendrons do badly very fast if they are too dry.

pretty, sticky flowers

happy in its home
bye bye til next year, flowers!

I also planted some reddish purple Coral Bells with the hostas, which I think are going to go to the curb like their old friends the globe cedars. They just aren't working for me. The coral bells are, though. The purplish hue really goes nice with the red of the bricks, and they fill out a nice space. The creeping thyme I had planted the first summer has spread magnificently and is alternated with white and pink as you go down the beds.
 
pretty pretty creeping thyme. i love this stuff to death
Whether or not my front gardens look mid century is up for debate. I do not have box hedges though I am thinking of getting some to replace the hostas. I am trying to just make it look nice, which is all any of us can do, right?

I do have some garden influence in the back yard, and here are some pictures of it. Last year we put in a rock garden, rocks free from Kijiji if you could take them (it took a Ford 350 to do it and there were concerns about it's shocks) and planted some creeping plants. They are all doing well. We had found random columbines beside our garage so we gathered seeds and planted them last year. Holy moly did they ever grow. Now we have 5 large patches of nice dark purple columbines, and one random one that was white for a few years but has decided to turn pink.  I got some geraniums from FullCircles (freecycling) that were worse for wear but have done marvy along with periwinkles also from freecycle. I have some iris, also for freecycle, but they haven't bloomed yet this year so I don't have pictures.
Here it all is:
my ranunculus which i love though the flowers are way smaller than i thought they were

geraniums.. not the usual planter ones, but the shade loving low growing purple ones

formerly white columbine now in a nice shade of pink

one bunch of purple columbine

rock garden before we did more work to it. the speedwell is a carpet of purple and feels very soft too.
*disclaimer- I got an iPhone and really like taking pictures with it, using the Hipsamatic app. Sorry if you don't like that sort of thing but I do. So suck it up.